 Aerial / Acrobatics
 Aerial acrobatics
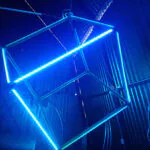 Aerial Cube / LED Cube
 Aerial Hoop, Lyra, Sphere, Spiral, Heart, Chandelier, Aerial lollipop
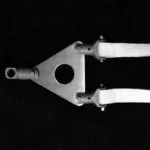 Aerial straps
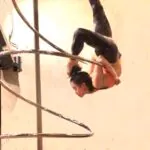
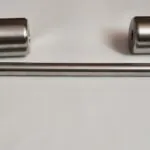 Aerial Trapeze
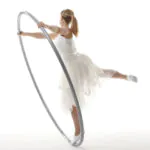 Cyr Wheel / German Wheel / Crossed wheel
 Crossed Wheel
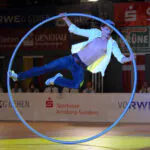 Cyr Wheel
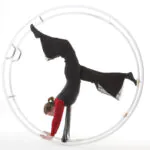 German Wheel / Rhönrad
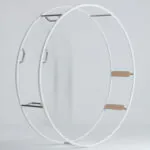 Cyr Wheel / German Wheel by Zimmermann
 Slinky Costumes
 Juggling Equipment
 Tight-wire self standing
 Pole
Pole Pole dance
 American Wheel of death
 Theatrical Mechanics – Stage Equipment & Rigging Systems
 Mobile constructions
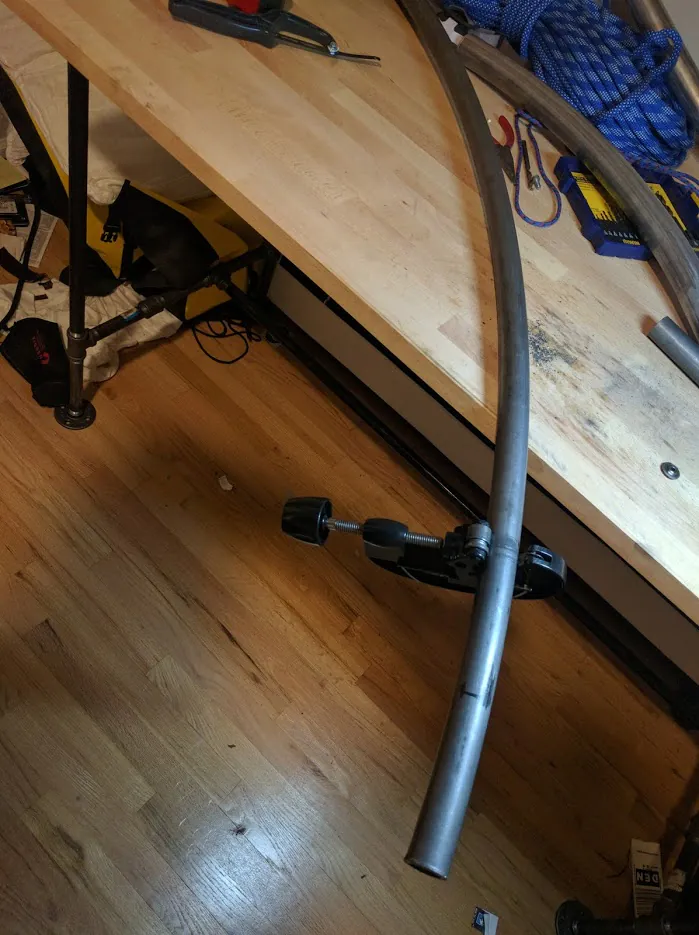
The wheel is a 73-inch diameter wheel made of 1.5″ OD 6061 aluminum tubing with a 0.125″ wall thickness. It’s cut into 5 sections, which are held together by 1.125″ OD (.156″ wall) stainless steel (cold-rolled DOM) inserts and pairs of screws at each edge.
Metal delivery
Metal arrived on a semi truck that couldn’t fit in my building’s lot, so we had to carry this for a block or so.
24 feet of aluminum tubing (I bought 2)
A bit too long for my porch
Tubing roller
Straight from harbor freight. Made my own stand from the leftover lumber in the metal packaging.
Mounted the roller/stand on some scrap plywood so it didn’t tip.
Drawing a straight line on a 24-foot tube is kinda tricky, but this makeshift jig did alright. The line ended up being useless (the roller grips the metal too tightly to allow mere humans to correct any deviation)
Got halfway through the first round of rolling, when my stand started to fail…
Should’ve used more screws. Or wood screws.
But look, it kinda bent it! …kinda…
Friends came, and helped design a smarter stand. That thing is built like a (wooden) tank!
We also came up with a process where you feed one end of the tube through the roller right to left, then the end that comes out on the left goes in first (right to left again) next time. This was in attempt to get rid of any possible helix that might be induced by putting it in the same direction each time.
A few dozen back-and-forth rollings and the stand holds up! Also it was dark by now (that stand took a long time), so this picture is not great.
But it’s (mostly) a wheel! Only a little bit of helix to it.
Also, this stuff got everywhere. I think it’s aluminum oxide, but it might also be black oxide. Either way, do not eat it.
Cutting off the excess, it fits pretty well!
Time to bend this 6-foot section of stainless steel into roughly the same curve, and cut to make some inserts to hold the sections together.
It turns out stainless steel is really hard to bend. I sheared off two set screws on this tubing roller, and had to drill the holes out to a larger diameter, and tap them. Luckily, the screws I planned to use for the wheel were bigger than the set screws, and seemed to get the job done.
Cutting the (now bent) steel tubing into 5 sections using the same tubing cutter as used on the aluminum. This took about 30 minutes per cut, and I went through several cutting wheels.
Because the steel was actually about 1/8″ smaller than the inside diameter of the aluminum, I bent it to a larger bend radius so it compression fits in the wheel at about 9.5″ sections.
Fitting the metal insert into the aluminum. I used the excess tubing cut from before to measure how long each section should be, ended up being around 9.5″ to get a snug fit.
For each insert, put it in the wheel, and drill through both. A drill press would have been a smart thing to have. Aluminum was fun to drill, steel was not. I used a 1/4″ drill bit, even though I was tapping with a metric thread.
Then, tap each hole. 4 holes per section, 20 holes total. I used a M8x1 . 25mm tap, and these screws: https://www . amazon . com/gp/product/B01E9NNVQI/ref=oh_aui_detailpage_o05_s01?ie=UTF8&psc=1
Screws in pretty easily!
But would be nice to countersink these
Countersinking drill bit to the rescue
Mmmmmm snug. I had to retap some of the holes, following the threads in the stainless steel inserts. It’s probably best if there aren’t any threads in the aluminum, so the steel can get pulled tight against the aluminum. This also seems to make assembly easier, since any slight misalignment of tapped aluminum and steel results in cross-threading.
I dropped a drill bit here. I can’t get under my porch without ripping up these boards with nails in them. Didn’t have any magnets small enough to fit in the crack, and had to eventually just use another drill bit. Learning from my mistakes, I put packing tape over all the cracks after that.
Using the roller to hold the tubing while it was cut was a great idea discovered far too late in the process.
Five sections complete and assembled! Mostly circular!
Time to skin each section with PVC!
Skinning failure 🙁
I used the oven to heat up the clear/flexible PVC, and then covered the metal in soapy water. Got it on this far before the metal expanded from the heated PVC, and the PVC cooled, and then it was stuck. 10 minutes later and it couldn’t even come off (had to cut it off). Turns out I bought the wrong size of PVC; I had assumed I’d be able to stretch 1.25″ ID over the 1.5″ OD aluminum, but I really wanted a 1.5″ ID PVC.
After getting the correct PVC, it fit on pretty smoothly! Still took a lot of forcing, oven time, and soapy water.
fully-skinned section
Skinned all the sections! After cooling for a day, I cut off the excess with a box cutter, and drilled holes in the PVC for the screws.
Here’s one of the 5 finished connections. The screws fit within the plastic pretty nicely!
Completed!
All credits to the writer Ewust. Please follow to the original link ( https://imgur.com/gallery/YId1U )